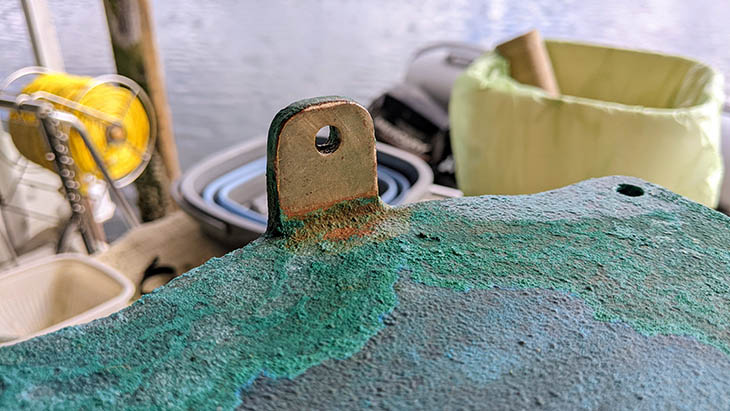
Our surveyor called out some corrosion on the starboard strainer tie rods as concerning. He said he had seen tie rods shear off from such corrosion before, which motivated me to put this “easy” project at the top of my list.
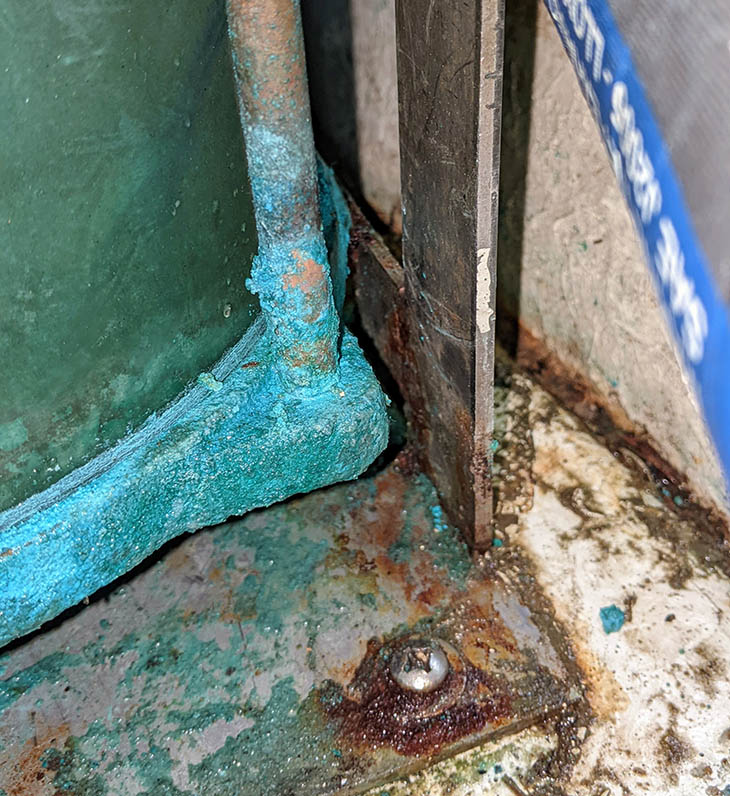 The surveyor was not happy about this corrosion.
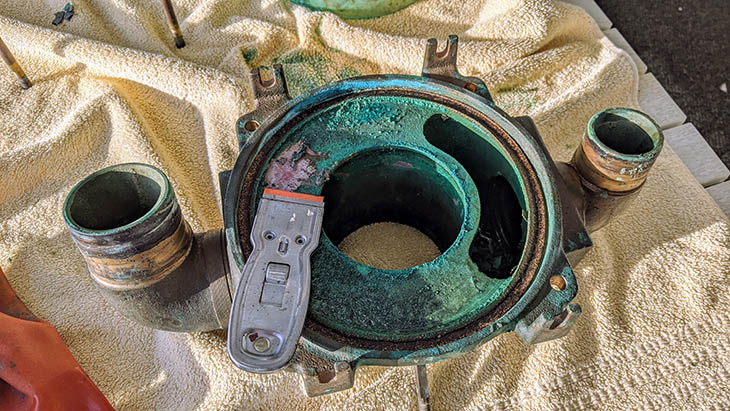
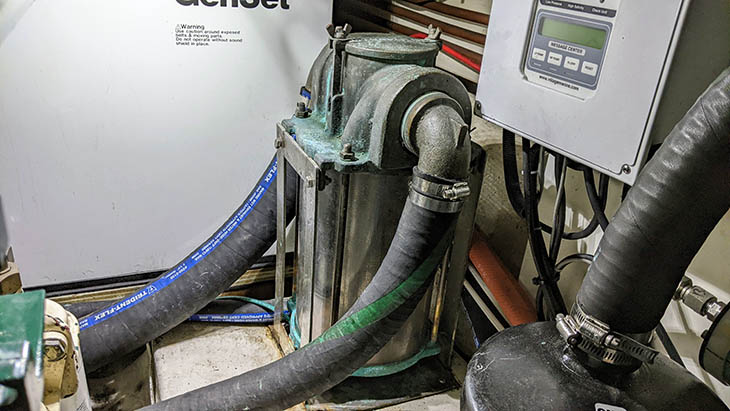
The strainer is located in a corner of the engine room, nestled snugly between the generator, the generator exhaust, and a watermaker control box on the wall. Positioning myself to get leverage on the hoses was even a challenge. The hoses are fairly short and very stout, and I quickly realized liberating the strainer from the bowels of the boat was not going to be as easy as I had hoped. I was able to break the bond with the barb fitting, but for the life of me couldn’t get the hose to budge off the barbed fitting.
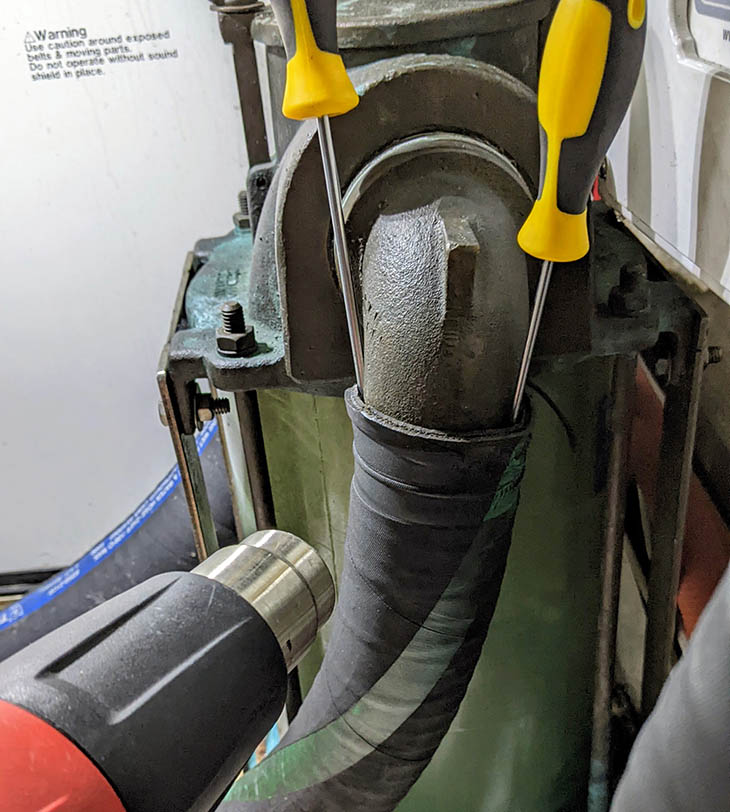 Employing all the tricks to get the hoses off.
After what was probably a couple hours of getting more and more aggressive with it, I was exhausted and a bit demoralized. I started considering just retightening the hose clamps and dealing with it later. I took a short break and made one last attempt to free the hose. Just when I was about to give up, the hose magically popped right off the fitting.
I started with the smaller outlet hose, and I assumed the larger inlet hose was going to be even more challenging. But with a good dose of heat and renewed confidence, I was able to get that one off in relatively short order.
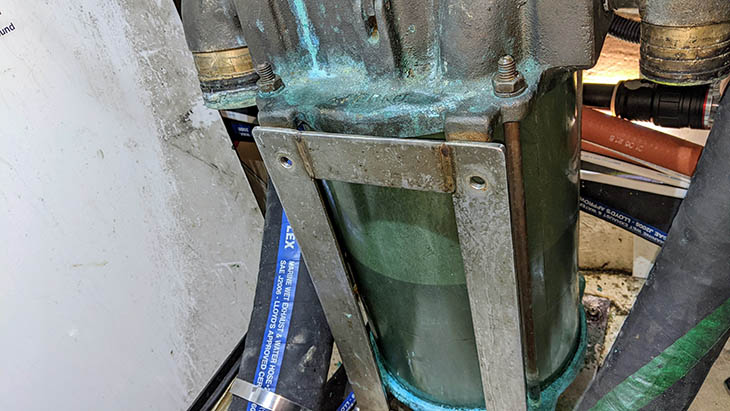 Getting the hoses off was a lot harder than I thought it’d be.
Thinking the hard part was now behind me, I tried removing the strainer from its bracket. Because the bracket was located pretty close to the wall, and it was surrounded by aforementioned equipment, getting a wrench on all the fasteners was a major pain. Even once I removed the fasteners, just lifting the heavy strainer out of the bracket with little leverage was more core exercise than I’ve had in years.
But finally I achieved victory over the beast and moved the operation to a table on the sundeck.
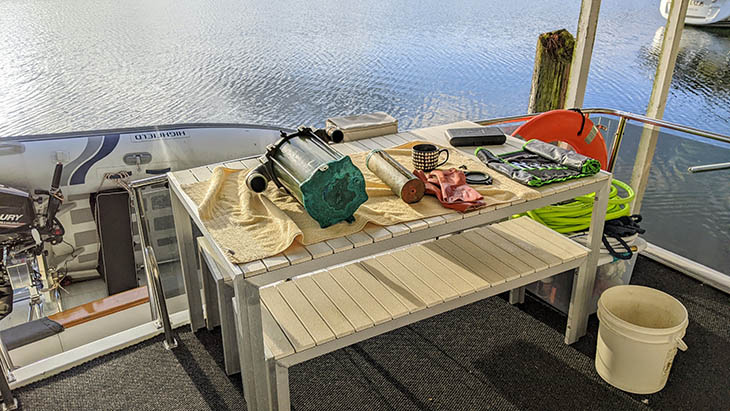 Working on the sundeck is a lot better than the engine compartment.
In the process of removing the strainer, I noticed its bonding wire was not connected, which undoubtedly contributed to the corrosion. It’s pretty common for brass parts to get a surface patina. This usually is just fine, and even serves as a protective layer. In more severe cases, it can lead to dezincification, which weakens the metal and is what the surveyor was concerned about. He said to make sure the tie rods were bronze, which isn’t susceptible to dezincification because it’s essentially free of zinc. However, my research indicated the Perko rods only come in brass.
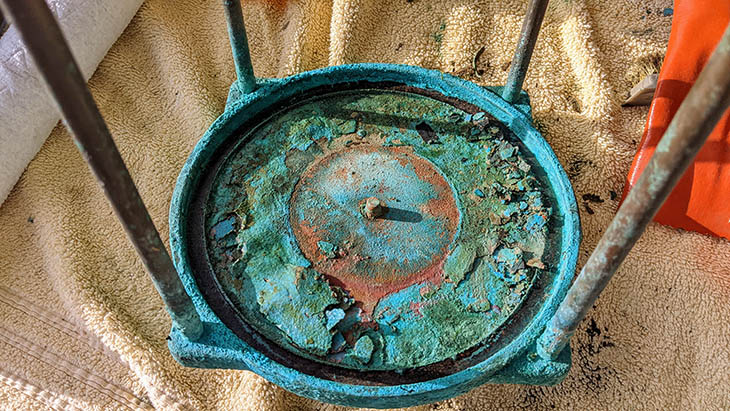 The inside of the strainer bottom was corroded pretty well.
I used a plastic scraper blade to remove all the loose corrosion on the interior surfaces, making sure to remove all traces of the old cork gaskets, too.
 Using a plastic scraper blade avoided damaging the brass strainer.
A paste of vinegar, baking soda, and salt helped clean up the tie rods, too. I briefly tried removing them from the base, but determined it wasn’t worth the risk of having them break, stripping threads, etc.
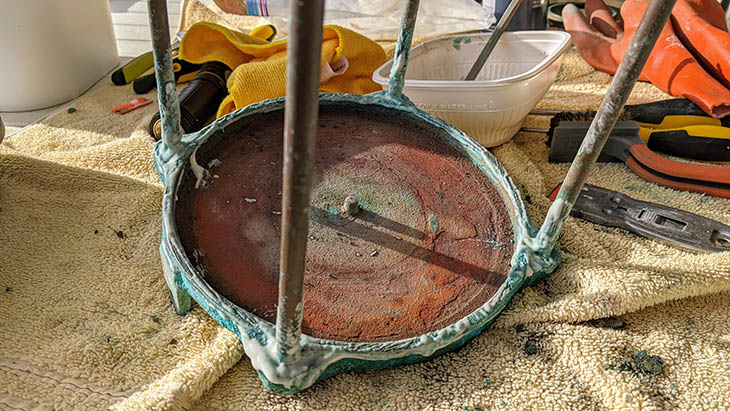 I used a paste of vinegar, baking soda and salt to loosen corrosion.
With a little elbow grease, I got everything cleaned up and ready to put back together again with new cork gaskets.
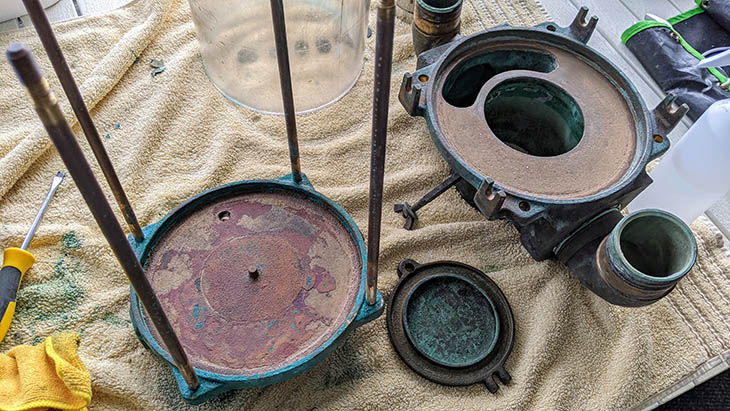 Cleaned and ready for reassembly.
After reassembly, I used an 80-grit sandpaper wheel on the Dremel to quickly remove all corrosion from the tab where the bonding wire attaches. The sandpaper wheel was amazingly effective for this job, and I now use it instead of a brush attachment when cleaning up bonding wire connections. I decided to leave the external patina in place, since it would probably just come back anyway.
 I removed all corrosion from the bonding wire.
Reinstallation was almost as much fun as removal. If I did it again, I’d definitely consider moving the strainer bracket away from the wall a couple inches. As it is now, it’s very hard to reach most of the fittings or to get more than a 1/4-turn at a time on them once you do.
 Serviced and back in action.
I wasn’t really sure how tight the tie rod bolts should be and didn’t want to overtighten them and risk cracking the acrylic body. I did notice a very small amount of water seeping around the base gasket after running the motor, so I tightened the bolts down a bit more, and it’s been leak-free since. If you do this, remember to loosen the top bracket bolts first so they’re not preventing the strainer top from moving.