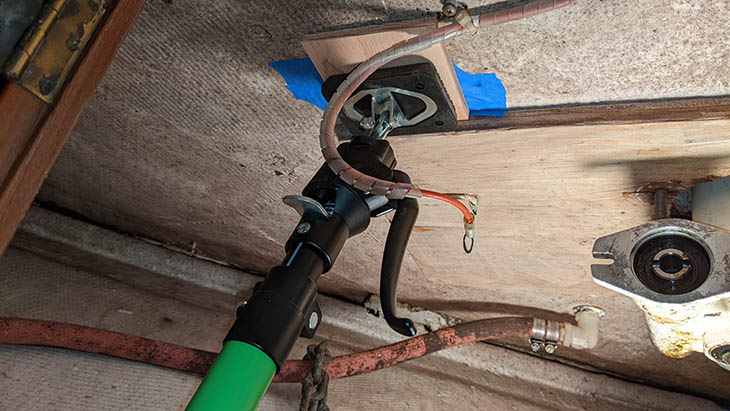
When Rendezvous was surveyed, it was noted that the foredeck around the windlass area sounded soft in a couple small spots when tapped with a hammer. The deck was still sturdy, so we figured there was just a little rot from water intrusion around the switches. The underside of the switches were damp, confirming our suspicions. It seemed like a fairly easy fix to pot the holes with thickened epoxy and seal them up.
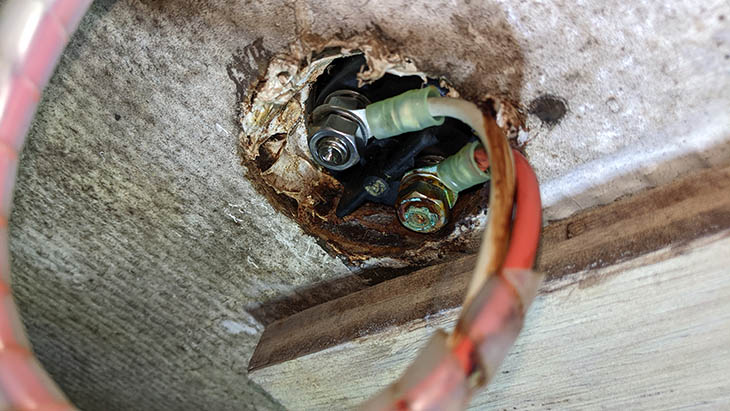 The underside of the switches confirmed a little water intrusion.
After removing and disassembling the switches, I discovered the switch bases had been modified to accommodate the switches. Specifically, the inner edge had been chamfered so the switch could fit down into the middle of the base. However, on one switch the chamfer was insufficient, so the switch didn’t sit flat on the base top, leaving about a 1/8” gap. It’s no wonder water was getting through this area.
 The inside of the switch base had been chamfered to accommodate the switch.
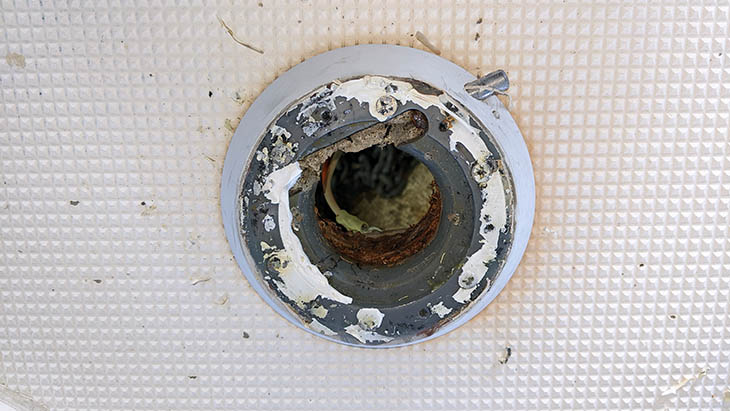
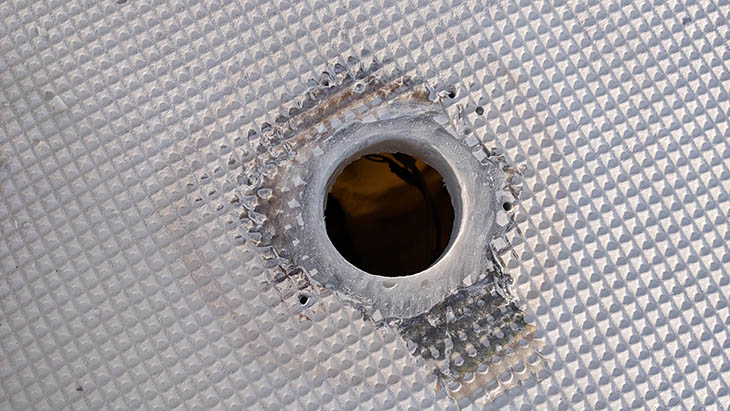
I ground out more of the base so the switch would lie flat, and then cleaned the old adhesive off everything. With the bases fully removed, I quickly determined there was rotted core around the holes. It seemed to run mostly aft, and didn’t penetrate more than an inch or so in the worst area.
 With the switch removed, we were ready to fix the decking.
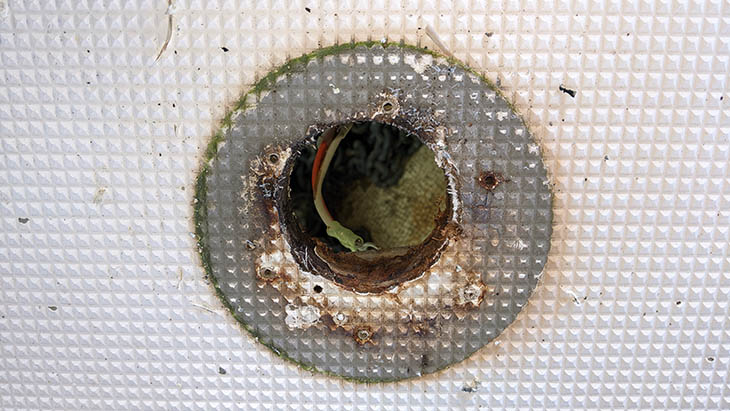
I dug out as much rotted plywood as I could from the edge of the hole. Where the plywood was still hard at the hole edge, I used a Dremel 115 bit and 199 bit to hog the core out so the epoxy would cure between the skins for improved strength and sealing. Then I coated a wood plug with wax to use as a spacer when injecting the thickened epoxy around the hole edge. In hindsight, I think packing tape works better than wax as a release agent.
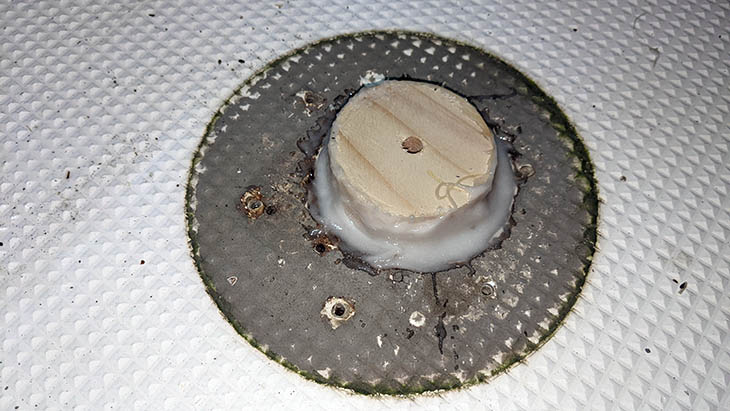 Using a wax-coated wood plug as a spacer when potting the holes.
To support the epoxy while curing, I covered the bottom of the holes with blue painters tape and a piece of plywood supported by a pole brace in the chain locker.
 Bracing the underside of the holes while the epoxy cures.
After the epoxy cured overnight, I knocked the plug out with a hammer and sanded the epoxy flush with the deck. This left a really strong seal that should prevent any future water intrusion into the core, even if water gets past the switch base sealant.
 The switch hole all sealed up with thickened epoxy.
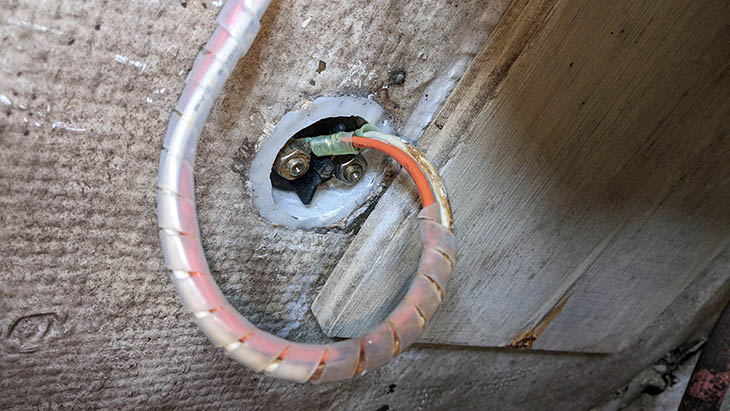 A view of the switch underside from the chain locker.
Because the rot wasn’t very extensive, this turned out to be an easy preventative maintenance job and a great way to get a little experience working with epoxy.