We keep Rendezvous in a covered slip, so we end up raising and lowering the arch every trip. The boat came wired for two pistol grip style hand triggers, each with a 3-prong plug. I don’t know what it is about this style of plug, but it always seems fussy to get the prongs lined up correctly, and then I had to deal with long cables to the triggers. What made it worse is that the VHF remote socket is located such that you cannot have both it and the arch controllers plugged in at the same time.
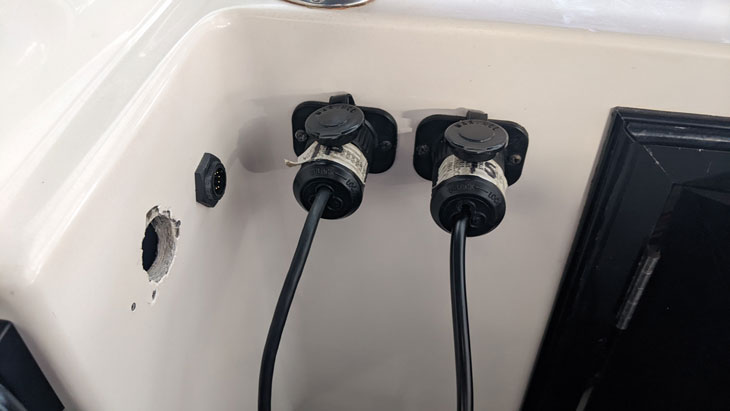 The original arch controls used 3-prong plugs.
Having cleared enough other projects off my list, this annoyance finally drove me to action. I had also been looking at replacing the arch linear actuators with some that could be synchronized, but eventually decided that would be overkill. So I instead went with simple rocker switches that I would continue to “synchronize” manually.
The immediate problem was needing some kind of switch protection. Even though we try to make it part of our process to flip the arch breaker off when we don’t need it, I didn’t want to rely on our aging memories. I searched for some kind of double guard switch for a while before remembering that I have a 3D printer that doesn’t get enough use. So I opened Fusion 360 and designed a simple guard plate for the two switches I bought on Amazon.
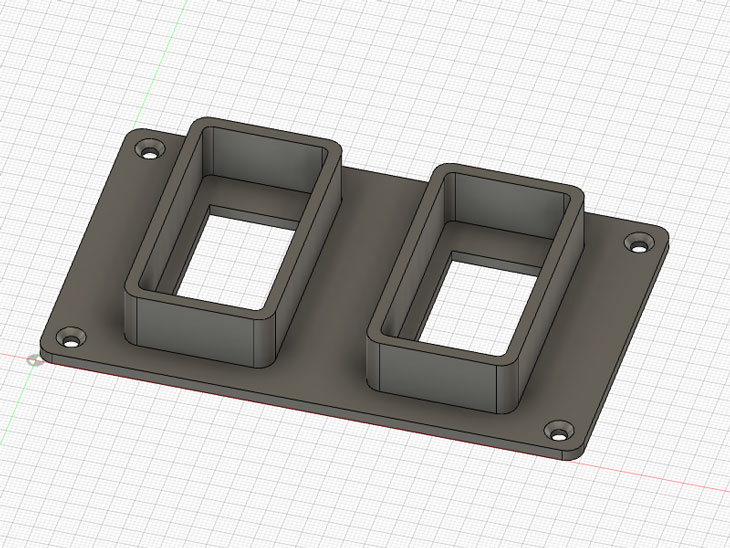 Simple double switch plate with guards.
I had planned to print the plate with black filament, but had white loaded and figured the print would fail at least once, anyway. However, the print came out great, and then I started thinking it’d look better white. Some laziness may have played a part in this decision.
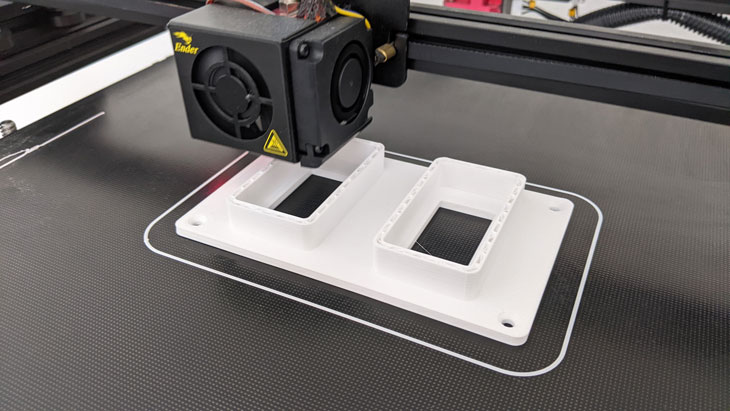 3D printing the switch plate.
Once the plate was printed, I lightly sanded it and added a quick coat of some generic white spray paint I had laying around. At the boat, I used a jig saw to expand the holes for the switches, and then did a test fit to make sure everything was going to work.
 Test fitting the new switches.
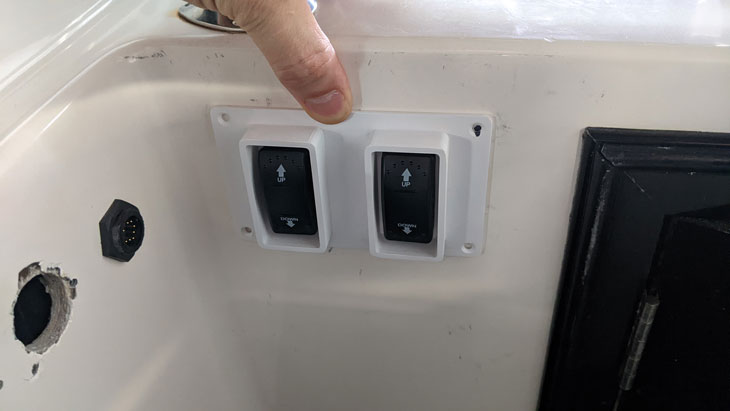
The plate was noticeably whiter than the gelcoat, so I decided to hit it with the Volvo White engine paint I bought for the heat exchangers. That turned out to be a near perfect match. From there, it was a pretty simple matter of adding heat shrink blade connectors to the existing wiring and confirming everything worked.
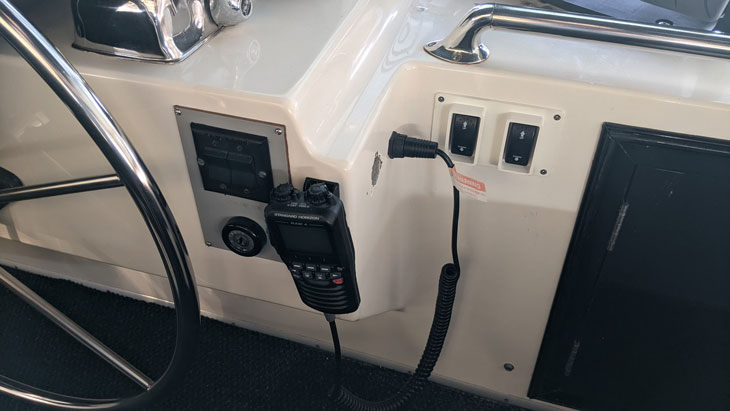 The final installation with VHF connected.
Finally I no longer have to fight with the 3-prong plugs or dig out the hand controllers. And I can leave the VHF remote permanently plugged in!