The cabin door on Rendezvous is a unique design. It’s sort of a hatch that slides horizontally on top and bottom tracks. The door itself is quite heavy and has always required a lot of effort to open and close it, mostly because it did not slide smoothly on its tracks and dragged against parts of the cabin.
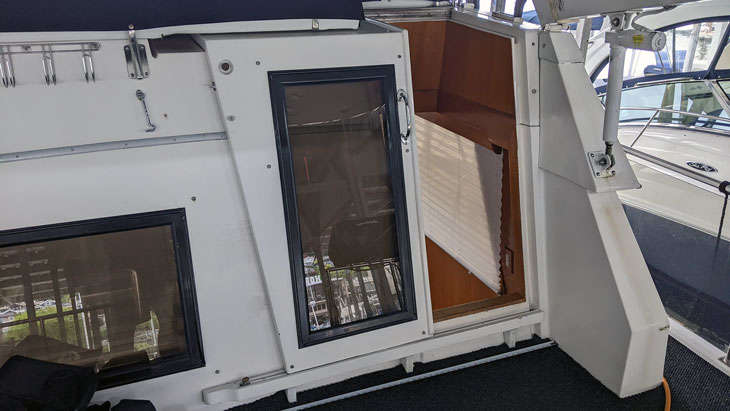 The cabin door slides horizontally on a top and bottom track.
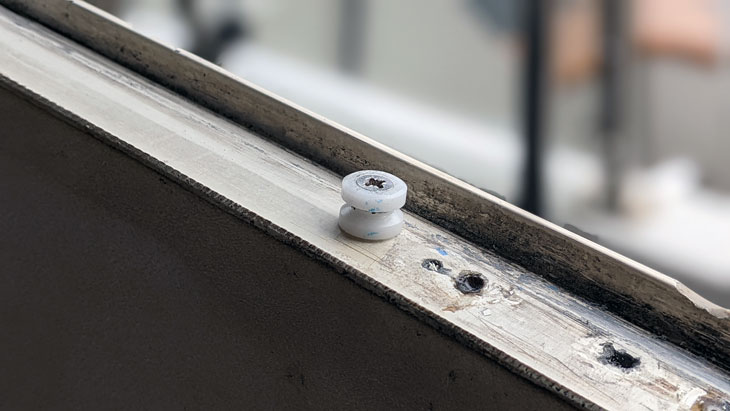
As the door opens, it slides underneath a bench seat in the flybridge. There was a small plastic wheel attached to the bottom of the seat to assist this, but it had long since worn flat and left rub marks on the gelcoat. More importantly, when someone was sitting on the bench, it was impossible to operate the door, resulting in lots of requests for guests to stand up momentarily.
 The flybridge bench seat had a small wheel mounted underneath.
To fix this, I modified the seat frame to provide more clearance and replaced the small wheel with a roller skate wheel. Because the new wheel has a much larger diameter, I added a cover to prevent interference with the seat foam.
 Added clearance and a larger wheel solved the seat interference problem.
The next obvious problem was the bottom track. The door bottom had two small plastic wheels that rode on a plastic guide strip. The strip was held in place with countersunk screws, and the door would sort of “clunk” as it ran across those screw heads. The placement of the guide strip was also critical; too far forward and the door would rub on the cabin, too far aft and the door would rub on its track. There was clear evidence of both happening.
 The original bottom door track was a plastic guide strip.
After a few attempts at repositioning the plastic strip, I ended up replacing it with an aluminum one. Positioning the aluminum track was easy because I could place the door on it, ensure there was no interference, and then secure it with a few screws.
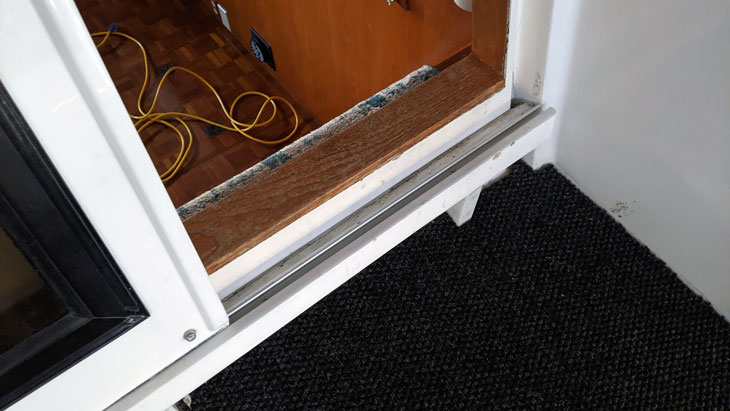 New aluminum bottom track was a big improvement.
I also replaced the plastic wheels with heavy duty stainless wheels designed for the aluminum track. This required hogging out about a 1-1/2” deep section of the door in two places. I initially tried using a router, but it was too difficult to keep it in place, given the odd contours of the door bottom. So I eventually used a combination of drill bits, chisels, and the Dremel.
 New stainless wheels desiged to ride on the aluminum track.
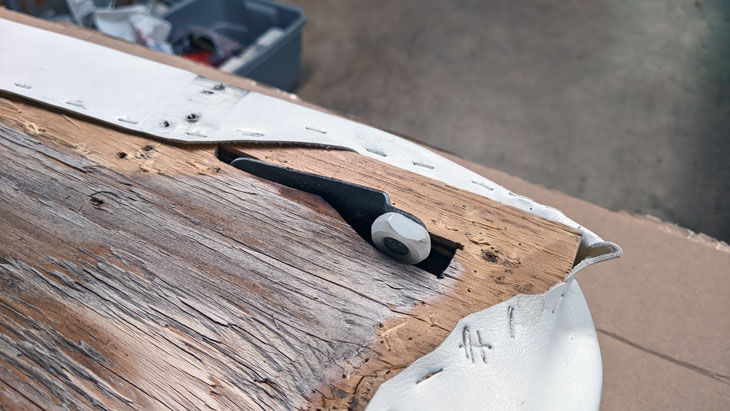
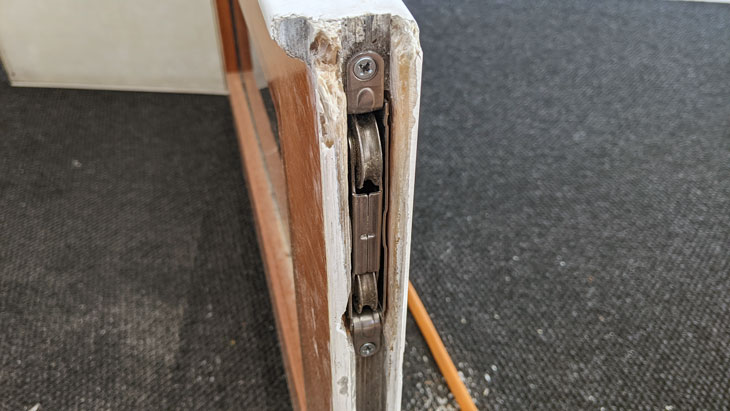
After resolving the interference problems, the door still would not glide smoothly, and the top track was the only thing left to address. The track is a metal channel with a small strip tack welded on one side to form sort of a “G” shape. The track not only guides the position of the door, but it also prevents someone from just lifting the door off the bottom track to get into your boat.
 Here’s a failed attempt at using bearings for guide wheels to illustrate the shape of
the top track.
Here’s a failed attempt at using bearings for guide wheels to illustrate the shape of
the top track.
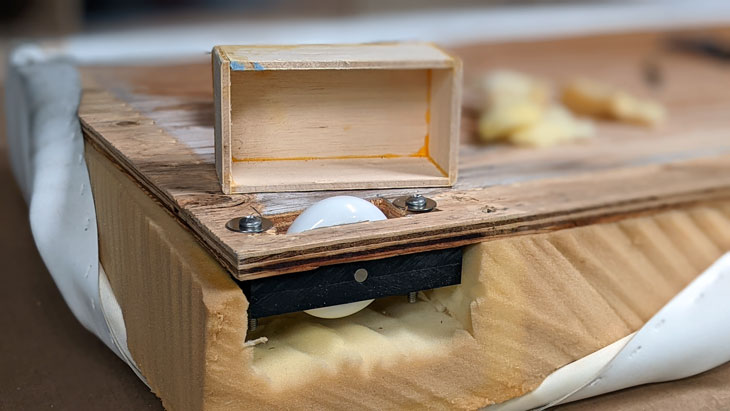
The two small plastic guides attached to the door were all but obliterated. I used this as an excuse to buy a benchtop lathe and made some new guides with a v-groove to position them on the lip of the track.
 My first attempt at new guides for the top track.
This actually got us through a season with a door that was tolerable. It still required a fair amount of effort to operate, but it worked well enough to drop down the to-do list quite a ways. Over time, however, the guides wore down enough to allow the door to fall inward and drag on the track. Eventually it became so difficult to open the door that it was a safety concern.
My initial thinking was that a wheel design would reduce the dragging, and that positioning the wheels inside the track, as opposed to riding on the track lip, would be best. The track is not very big, and finding wheels to fit inside proved near impossible.
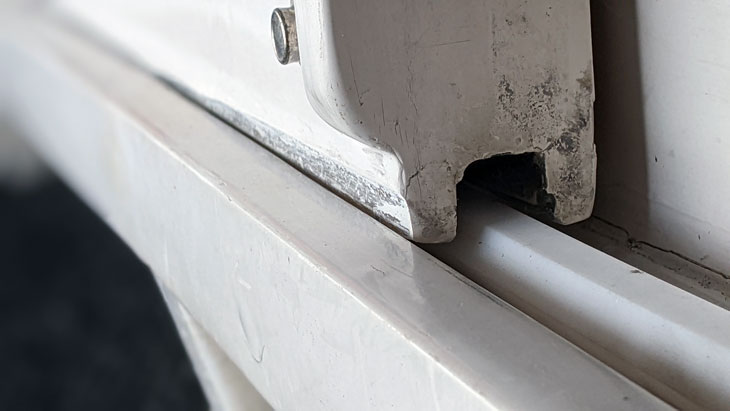
Around this time, my buddy was brokering an OA 440 with the same door design, so I asked him to send photos of its door track. To my surprise, I discovered our top track was upside down. This also explained why there were two sets of screw holes, most of which were stripped out. When I flipped our track right-side up, it also provided more clearance around the interference areas.
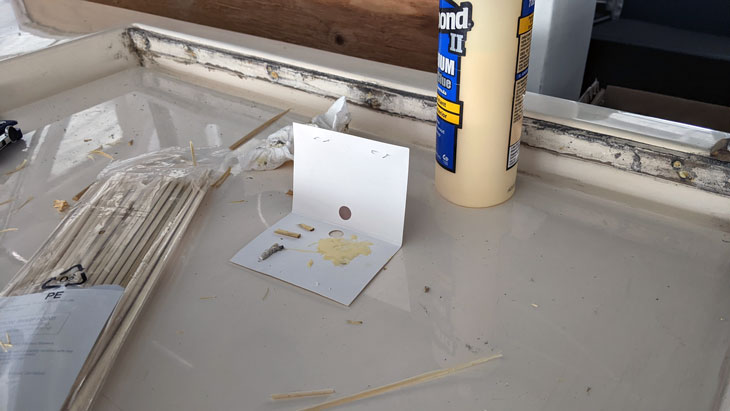 Fixing all the stripped screw holes in the top track with bamboo skewers and
glue.
Fixing all the stripped screw holes in the top track with bamboo skewers and
glue.
This made me view the track design differently. Instead of a “lip” the guides ride on, I decided the track’s primary purpose was to prevent the door from being removed, as I mentioned earlier. And smooth operation only required that the door slide easily against the track, not on the track.
Armed with this new perspective, I quickly made up some new guides from scrap HDPE, which is a tough plastic with a slippery surface. The guides create very little friction with the track, and also fit inside the track to “lock” the door onto the track.
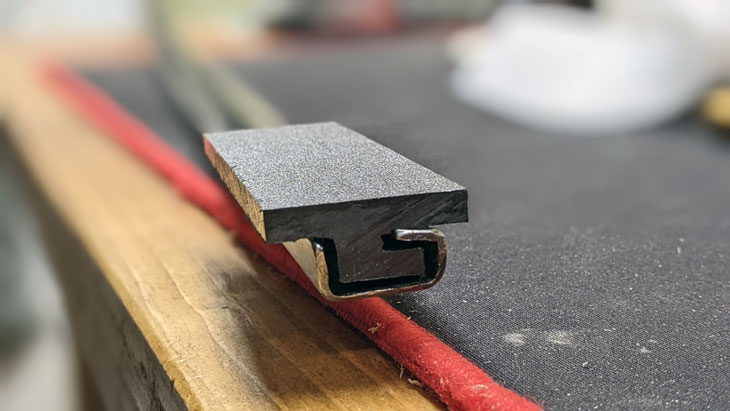 The final design focuses on reducing friction between the door and track.
Convinced this was a good approach, I rounded some corners on the guides and added a countersunk hole for the screw to attach them to the door.
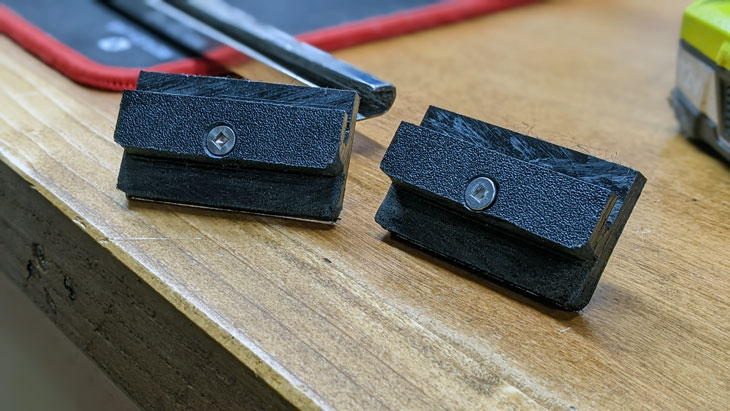 The final guides, ready to attach to the door.
Back at the boat, I screwed the guides to the door and slid the track onto them. Then I set the door in place onto the bottom track, and was pleasantly surprised to find that all my careful measuring resulted in the top track lining up with its existing screw holes.
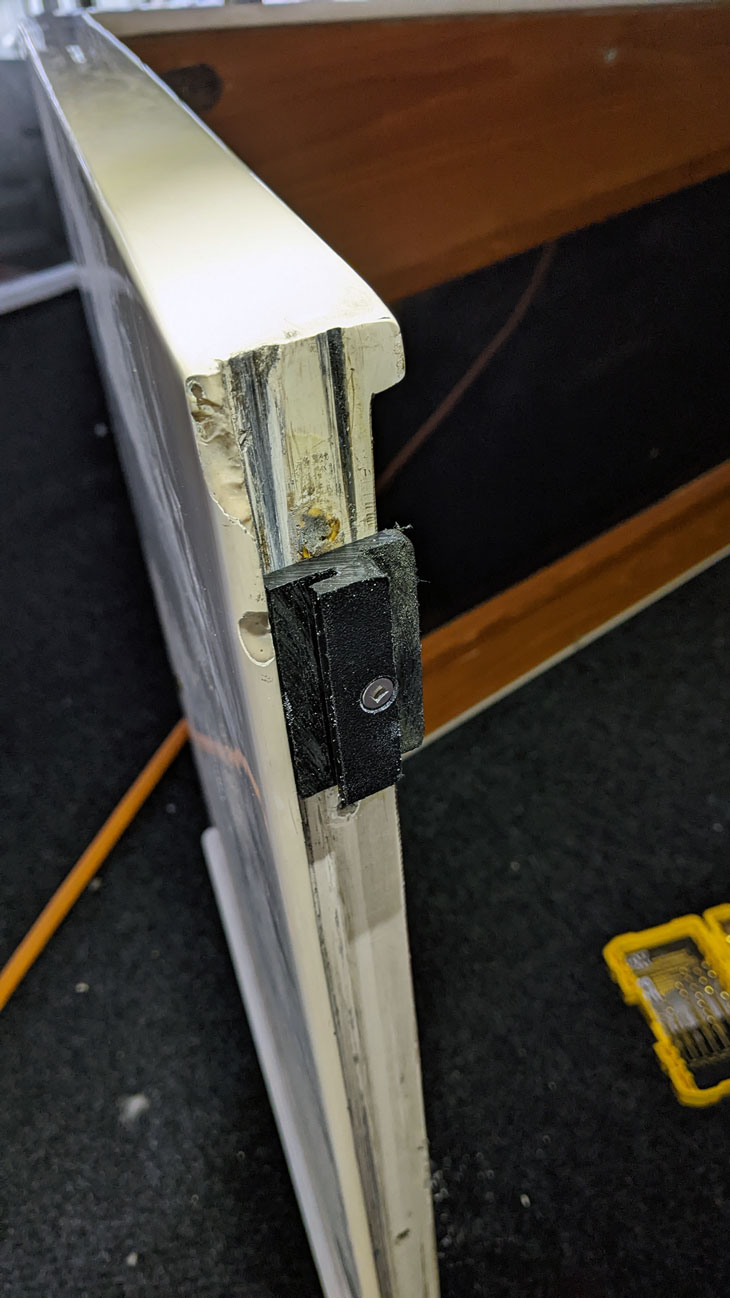 One of the guides attached to the door, which is laying on its side on the
sundeck.
One of the guides attached to the door, which is laying on its side on the
sundeck.
Now the door slides smoothly and easily enough that we have to latch it open while underway to prevent it from slamming open and closed. Which leads to a future door project: installing the latch set I bought earlier this year.
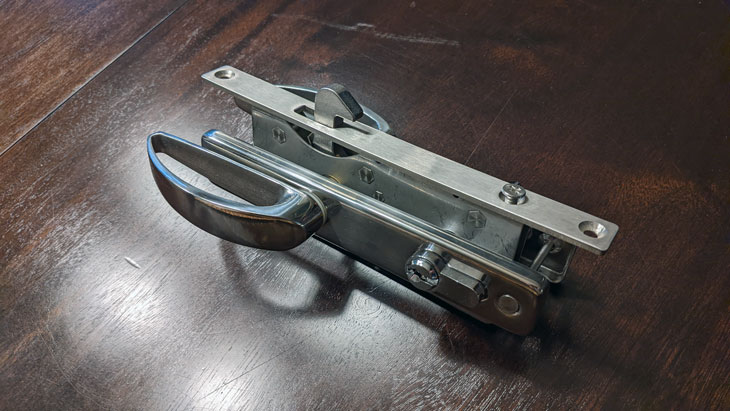 The latch set I’ll be installing next